Appliance
You can download our ready-to-run OVA (Open Virtual Appliance) here.
After you deployed the appliance there are thre
- Change the sysadmin password;
- Configure a static IP address if required;
- Deploy InfraSonar.
Internet access is required
InfraSonar appliances require internet access in order to retrieve up to date docker containers, operating system updates and connect to the InfraSonar cloud.
Default login
You can logon to the appliance using:
- User:
sysadmin - Password:
Infr@S0n@r
Change password
Enter the passwd command when you are logged on as sysadmin and follow the steps when prompted.
$ passwd
Changing password for sysadmin.
Current password:
New password:
Retype new password:
passwd: password updated successfully
Ensure to keep this password stored somewhere safe.
Nano basics
The InfraSonar appliance configuration requires you to edit files using SSH access. The appliance includes the main text editors of vi and nano.
Since Nano is easier to use, we outline its essential functions here.
The easiest way to use Nano, is to open the file you want to edit or create directly using Nano, like this:
sudo nano /etc/infrasonar/data/config/infrasonar.yaml
Note
We assume you are logged on to the appliance using SSH.
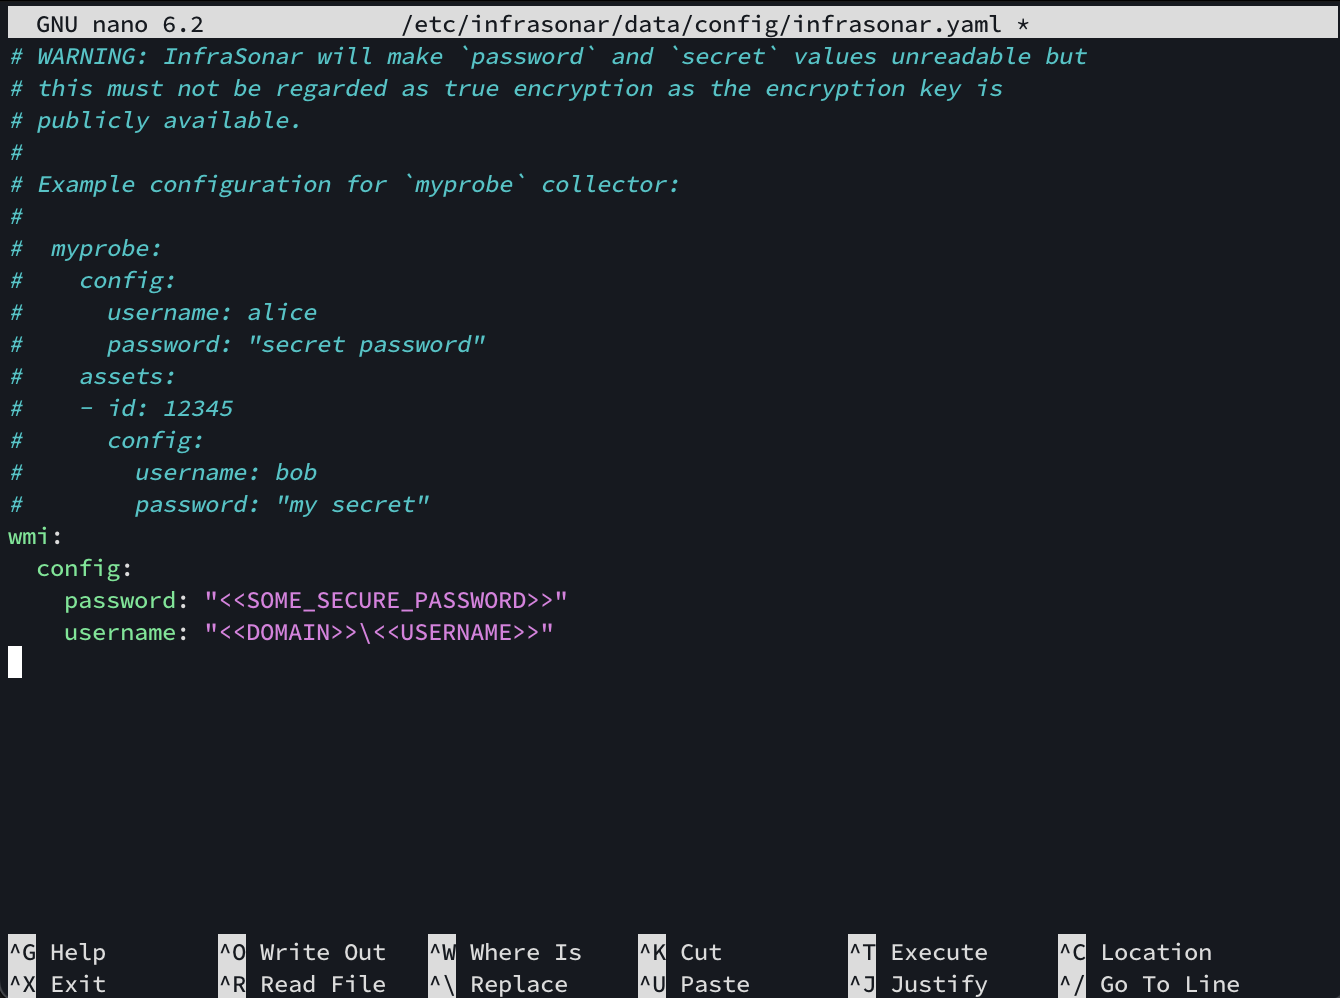
This command will launch the Nano editor, where you can immediately make changes to the file:

When your edits are done, exit using Ctrl+X. Nano now prompts if you want to Save modified buffers.
If you want to save your edits press Y, followed by an Enter to confirm the filename.
Press N if you want to discard your edits or Ctrl+C if you want to continue editing.
Network configuration
The InfraSonar appliance ova uses DHCP by default. You can change this to a static IP by editing the file /etc/netplan/00-installer-config.yaml.
Indentation is meaningful in YAML
Make sure that you use spaces, rather than tab characters, to indent sections. In the default configuration files 2 spaces per indentation level are used, We recommend you do the same.
- DHCP configuration
-
Example DHCP configuration (default):
/etc/netplan/00-installer-config.yamlnetwork: ethernets: ens160: dhcp4: true version: 2 - Static IP config
-
Example static IP configuration:
/etc/netplan/00-installer-config.yamlnetwork: version: 2 ethernets: ens160: dhcp4: false addresses: - 192.168.10.10/24 routes: - to: default via: 192.168.10.1 nameservers: addresses: [192.168.10.2, 192.168.10.3]
After you modified your IP configuration you need to apply the new netplan configuration using the following command:
sudo netplan generate
sudo netplan --debug apply
Deploy InfraSonar
Use the appliance manager to configure InfraSonar on the appliance.